How to Roughly Measure Your Kitchen for Stone Surfaces

How to Roughly Measure Your
Kitchen for Stone Surfaces
You don’t need blueprints or software to take the first step toward your dream kitchen. Just a tape measure, a few notes, and this simple guide.
Rough measurements give our team a head start, helping you get a faster, more accurate estimate before your showroom visit. It’s not about precision (yet). It’s about clarity and confidence.

What You’ll Need
- Tape measure
- Transparent square-foot pricing
- Step stool
- Camera or smartphone
The Areas to Measure
Before your stone can be crafted, we need to understand the space it will shape. Here’s how to take rough measurements of the key zones in your kitchen.
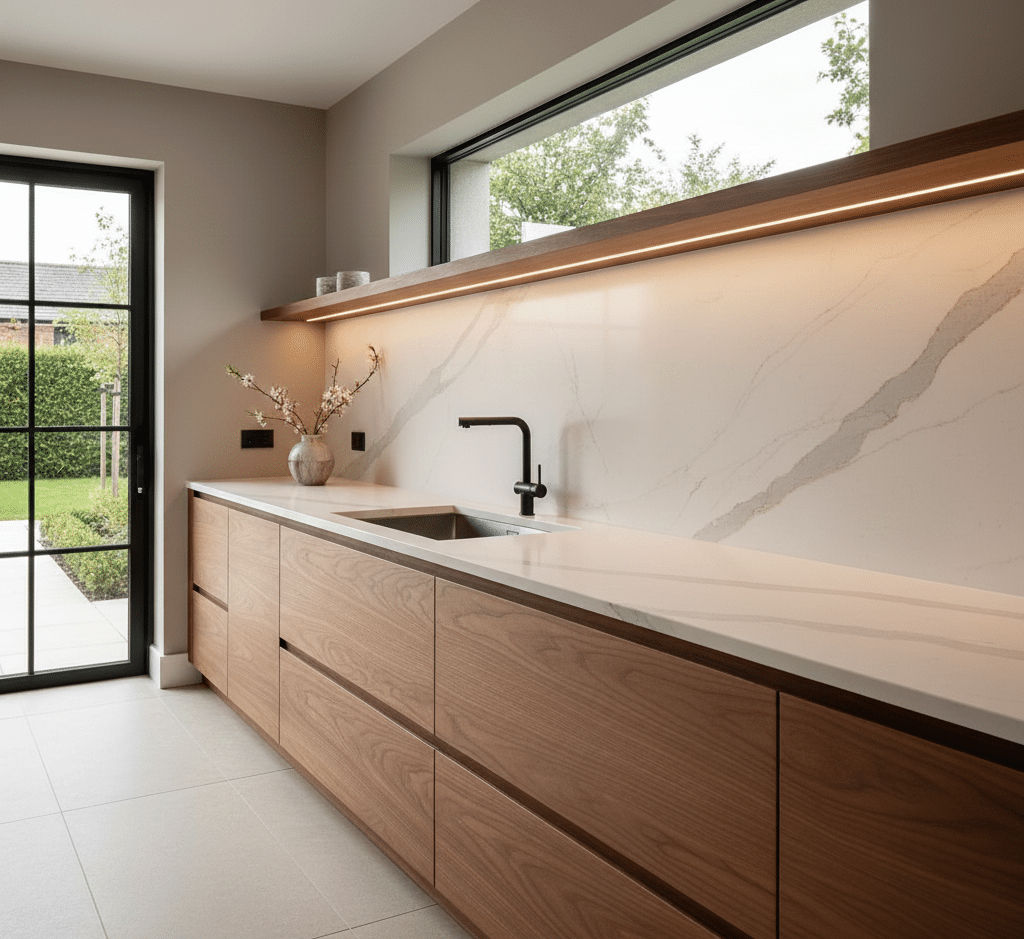
Perimeter Countertops
How to Measure:
- Measure the length of each countertop section from wall to edge. Use inches and round up slightly.
- Then measure the depth from the back wall to the front edge of the countertop. Standard depth is about 25.5 inches, but measure yours to be sure.
- Make a note (on your sketch) of where your sink, cooktop, or any appliance cutouts are located along the run.
Example

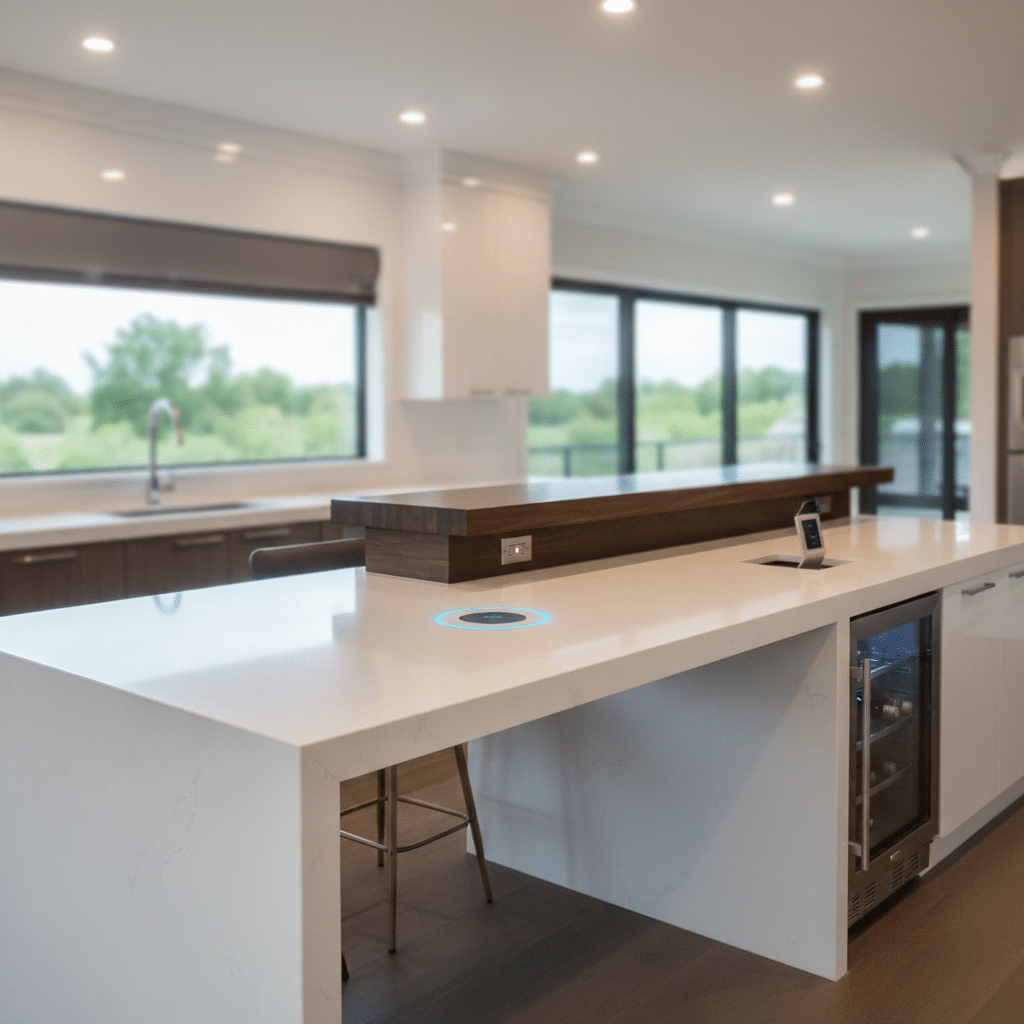
Kitchen Island
How to Measure:
- Measure length × width of the countertop surface (don’t include cabinets, just the stone area).
- If the island has an overhang for seating, measure how far that overhang extends beyond the cabinet.
- If the island has waterfall edges (stone that runs down the sides), measure the height from countertop to floor on each side.
Example
Island = 84” L × 42” W. Overhang = 12”. Waterfall = 36” high, both sides.
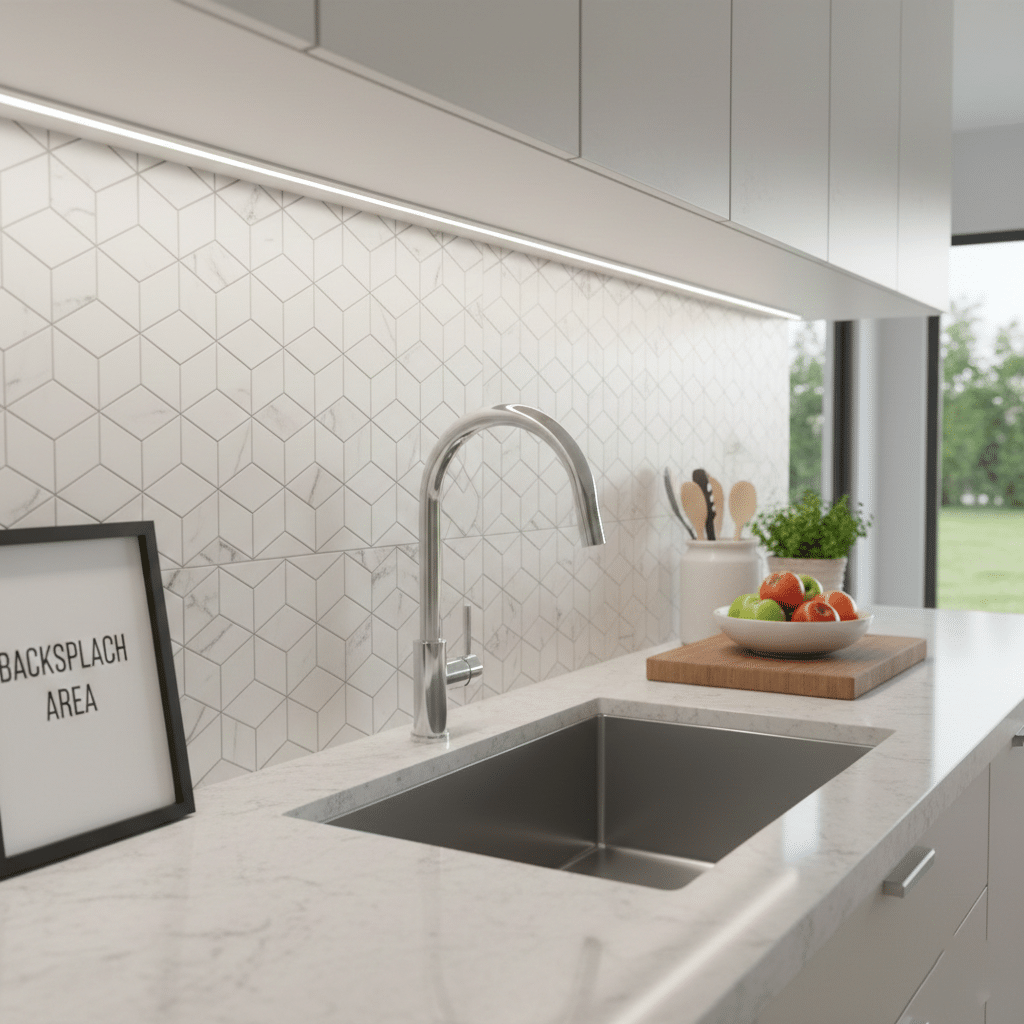
Backsplash Area
How to Measure:
- Measure the height of the backsplash from the countertop up (either 4” standard or full height up to the cabinets).
- Measure the length of each wall section that will have a backsplash.
Example
Raised Bars, Overhangs, and Extras
What to Do:
- Measure top surface (length × width).
- Measure any height differences (for example, bar height = 42” vs. countertop = 36”).
- Note any unique edge or shape.
Example
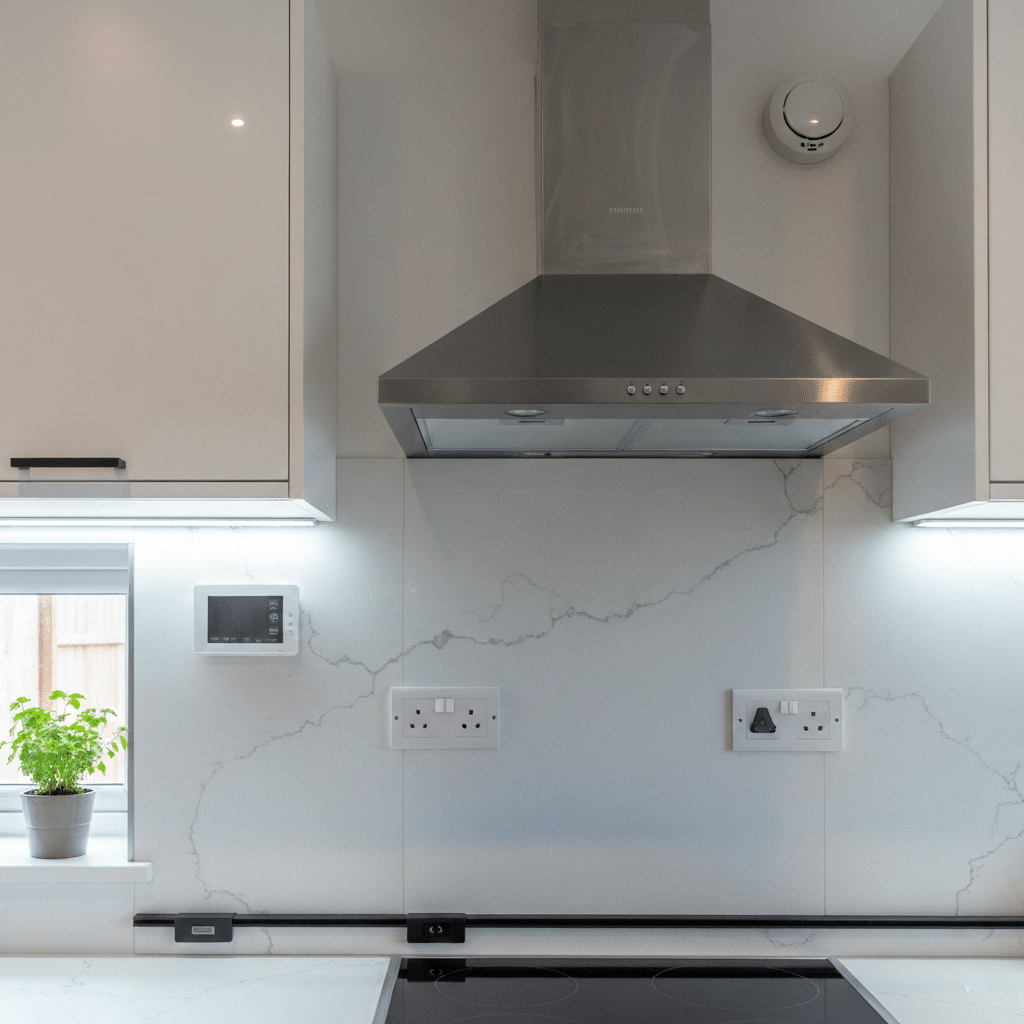
Wall Interruptions or Obstructions
What to Do:
- Windows above the counter
- Doorways nearby
- Refrigerator, range, or dishwasher location
- Power outlets or switches on the backsplash
A few final notes to help your rough plan work harder:
- Measure twice.
- Round up slightly.
- Use arrows and notes.
How to Sketch Your Kitchen Layout
You don’t need to be a designer, just draw what you see from a bird’s-eye view.
Follow These Simple Steps:
- Start with Shapes:
- Add Labels:
- Add Measurements:
- Take Photos:

What Happens After You Measure
Your hand-drawn plan gives us just enough to begin shaping your estimate, and to prepare for the next step: precision by design.
When you’re ready to move forward, our team visits your home to complete laser-accurate measurements.
Before you begin, gather a few basics; no special tools, apps, or design software required. Just simple, clear measurements.
- Digital Layout Approval
- Vein Matching
- Seam Placement
- Edge Profile Confirmation